Leaked WuWa 2.3 Tower of Adversity Lineups & Buffs Guide
Wuthering Waves Tower of Adversity 2.3 leaks: enemy lineups and stage buffs for the April 28–June 23 cycles will help you crush bosses.
Hey fellow Rovers! If you've been grinding the Tower of Adversity in Wuthering Waves, you know how crucial it is to plan ahead — especially when world bosses with massive HP bars are waiting on the final floors. Well, thanks to some fresh leaks from Hakush.in, we now have a full look at the enemy lineups and stage buffs for the upcoming 2.3 Tower of Adversity cycles, and I'm here to break it all down for you.
Right now in 2026, version 2.3 is ramping up the difficulty even further, but it's also handing out some incredibly juicy buffs if you bring the right Resonators. The first cycle starts on April 28 and runs through May 26, while the second cycle stretches from May 26 to June 23. Since the first reset actually overlaps with the tail end of version 2.2, we'll be seeing a mix of challenges that lean heavily into the new content. Let's dive into what you can expect from each tower.
Cycle 1: April 28 – May 26
💥 Resonant Tower
This tower wants you to go wild with Intro Skills. The stage buff decreases enemy Fusion RES by 10%, and whenever a Resonator casts an Intro Skill, their ATK increases by 5% per second — stacking up to 4 times for a whopping 40% Resonance Skill DMG Bonus at max stacks. The catch? It disappears when you swap out, so quick-swap teams that can keep Intro Skills flowing will absolutely dominate.
The enemy lineup looks like this:
-
Level 1: Aero Predator (14,969 HP), Whiff Whaff (10,610 HP)
-
Level 2: Galescourge Stalker (27,719 HP), Spearback (76,956 HP)
-
Level 3: Aero Predator (23,460 HP), Whiff Whaff (20,172 HP), Cyan-Feathered Heron (57,545 HP), Hurriclaw (98,984 HP)
-
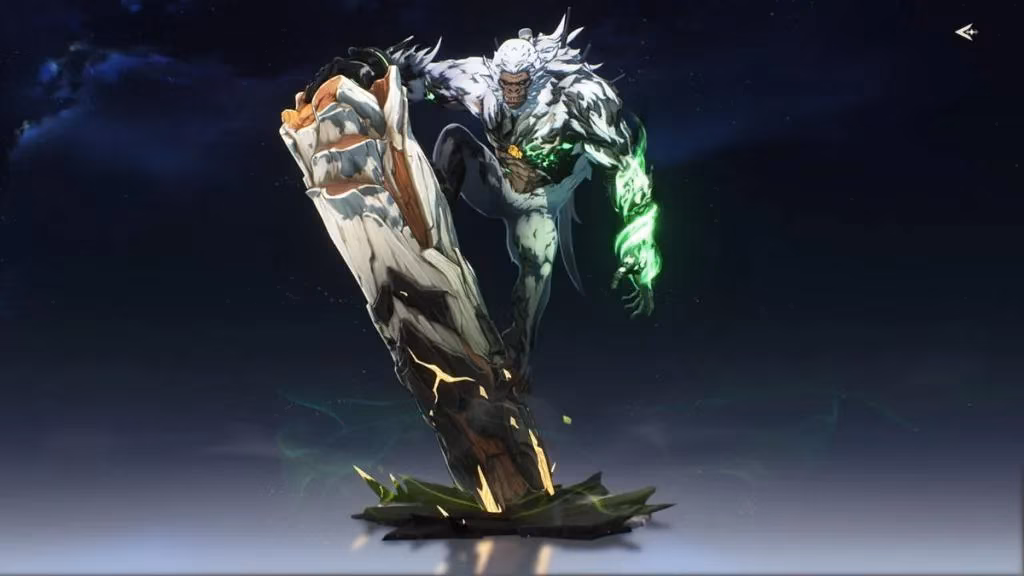
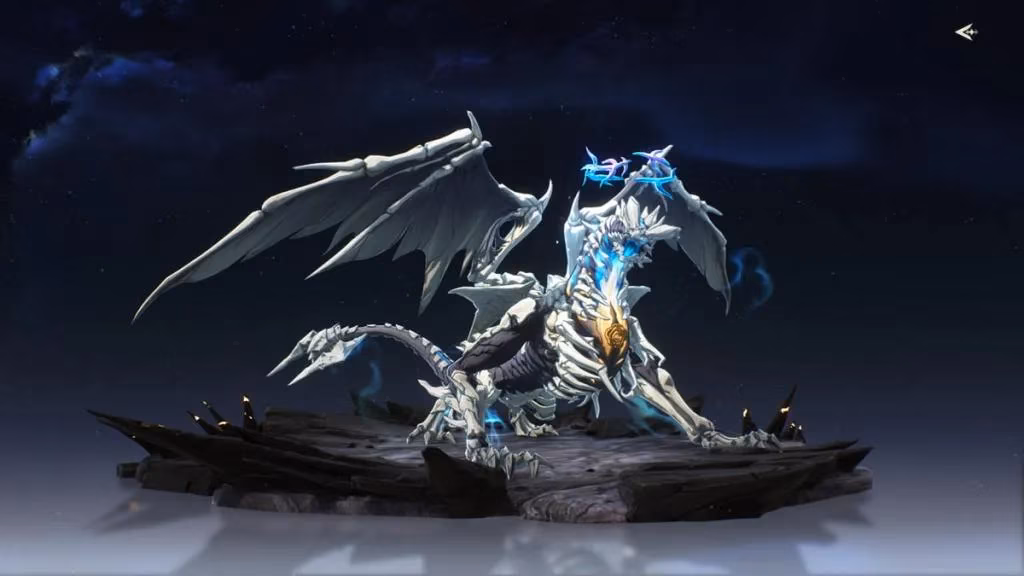
Level 4: Hooscamp Clapperclaw (59,874 HP), Hoochief Cyclone (96,639 HP), and the big bad Feilian Beringal with 453,258 HP
Feilian Beringal is no joke — you'll want to have your Fusion DPS ready to exploit that RES reduction, and keep those Intro Skills cycling to maintain the DMG buff. Characters like Jiyan or Camellya who can benefit from Resonance Skill DMG while dealing high sustained damage will shine here.
⚠️ Hazard Tower
This is where things get really spicy. The Hazard Tower buffs are dual-edged: enemy Spectro RES and Aero RES drop by 10%, but Fusion and Glacio RES increase by 10%. So don't even think about bringing your ice or fire teams here. Additionally, Heavy Attack DMG gets a 20% boost, and hitting an enemy with an Intro Skill applies 2 stacks of Spectro Frazzle (once per second), with Frazzle damage amplified by 100%!
Here's what you'll face:
-
Level 1: (Mobs leading up to Level 2)
-
Level 2: Glacio Dreadmane (134,117 HP), Abyssal Patricius (185,869 HP), and the monstrous Sentry Construct with 811,629 HP
Sentry Construct is a field boss with punishing attacks, but the Spectro Frazzle synergy can melt it fast if you bring a Spectro-oriented team that also loves Heavy Attacks. Think about characters like Verina for support and Calcharo for Heavy Attack pressure. The 100% Frazzle amplification basically doubles your DoT output, making Spectro teams incredibly lethal.
🌊 Echoing Tower
Echoing Tower flips the script with a Glacio focus: enemy Glacio RES decreases by 10%. The buff triggers on Resonance Liberation — casting it gives +5% ATK and +10% Resonance Skill DMG for 3s, stacking up to 4 times. Again, it's removed on swap, so stay on-field as long as possible to milk those stacks.
Enemy list:
-
Level 1 & 2: Fusion Warrior (27,719 HP), Stonewall Bracer (53,614 HP)
-
Level 3 & 4: Leading up to the final boss (not fully detailed in leaks, but expect scaling difficulty)
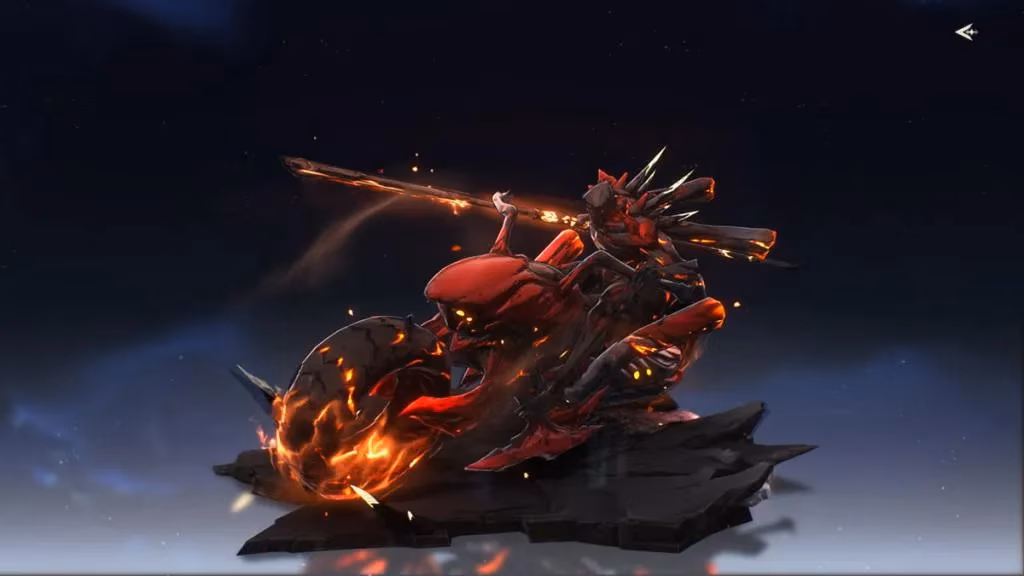
Since the Inferno Rider is teased here, it's likely the end boss. Glacio characters will have a field day — Lingyang, for instance, can rapidly cast Resonance Liberation and maintain those sweet atk and skill damage bonuses. If you have a well-built Sanhua, her Resonance Liberation spam can keep the buff at full stacks effortlessly.
Cycle 2: May 26 – June 23
The second cycle shifts to new element advantages and some really interesting team-wide buffs.
💥 Resonant Tower
Enemy Havoc RES decreases by 10%, and the buff is all about using Echo Skills. Casting an Echo Skill increases all team members' Attribute DMG by 6%, stacking up to 4 times (identical Echoes from the same Resonator won't double-dip). At 4 stacks, the entire team also gains a flat 36% Crit. DMG! This is massive — you can set up a support with a quick Echo Skill, then swap to your main DPS for that huge crit boost.
Enemies:
-
Level 1: Zig Zag (10,610 HP), Lottie Lost (23,029 HP)
-
Level 2: Chop Chop trio — Headless, Leftless, Rightless (each 27,719 HP), Rocksteady Guardian (92,031 HP)
-
Level 3: Spearback (98,984 HP), Lightcrusher (223,614 HP)
-
Level 4: Diurnus Knight (375,526 HP), Fallacy of No Return (435,138 HP)
The Fallacy of No Return can be a headache, but that 36% team-wide Crit. DMG bonus turns any Havoc DPS into a destroyer. Danjin or Havoc Rover will absolutely delete these floors. Don't forget to rotate through different Echo Skills to stack the buff quickly.
⚠️ Hazard Tower
This time, enemies have reduced Aero and Electro RES (by 10%), but increased Fusion and Havoc RES (also by 10%). The stage buff cranks all Resonator ATK by 20% flat, and when you inflict Aero Erosion on an enemy, your active Resonator gains an extra 40% Crit. DMG for 15 seconds. That's a massive window!
Enemies here:
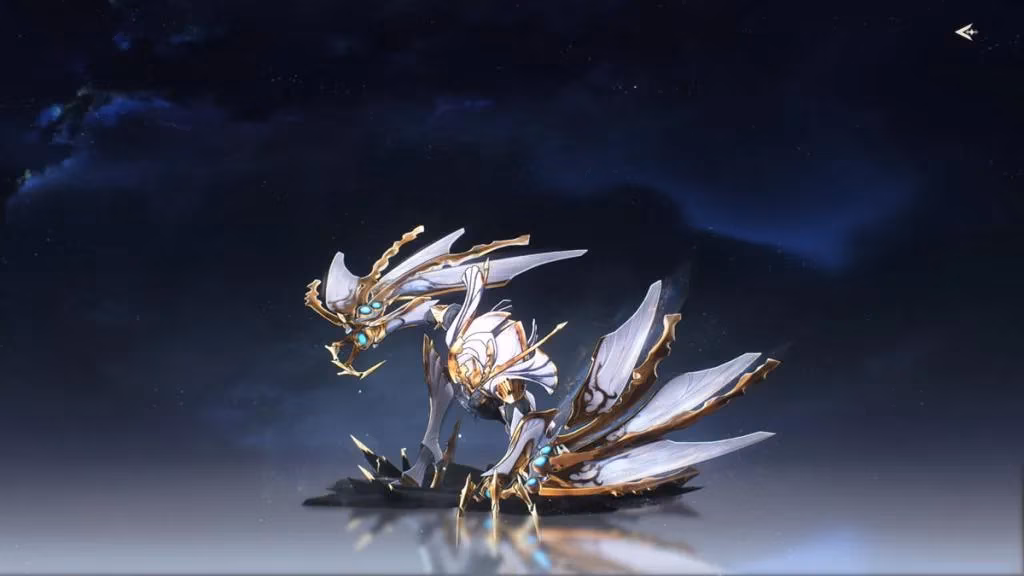
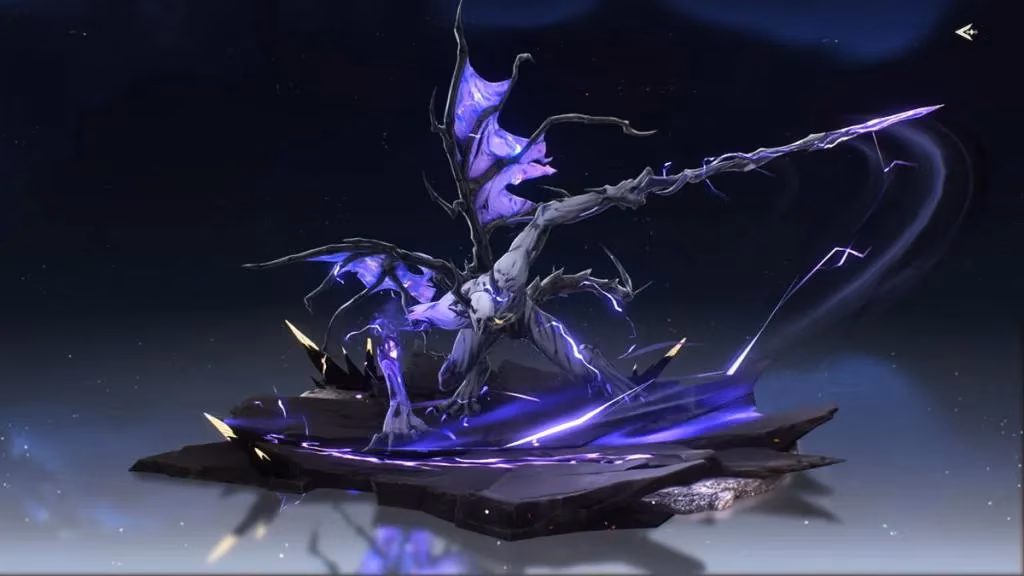
- Level 1 & 2: Nocturnus Knight (521,162 HP), Chop Chop (174,207 HP), and the mighty Dragon of Dirge at 747,477 HP
Aero teams finally get their moment. Jiyan paired with a character who can reliably apply Aero Erosion will enjoy near-permanent 40% Crit. DMG increase on top of the 20% ATK buff. The Dragon of Dirge is a slow, hard-hitting menace, so dodge well and unleash your burst during the erosion window.
🌊 Echoing Tower
Enemy Spectro RES drops by 10%, and the Resonance Liberation buff becomes even crazier: casting it now grants +20% ATK and a 40% Spectro DMG Bonus for 12 seconds. No stacking needed — just one Liberation and you're off to the races.
Enemy roster:
-
Level 1: Voltscourge Stalker (18,752 HP), Havoc Dreadmane (30,267 HP)
-
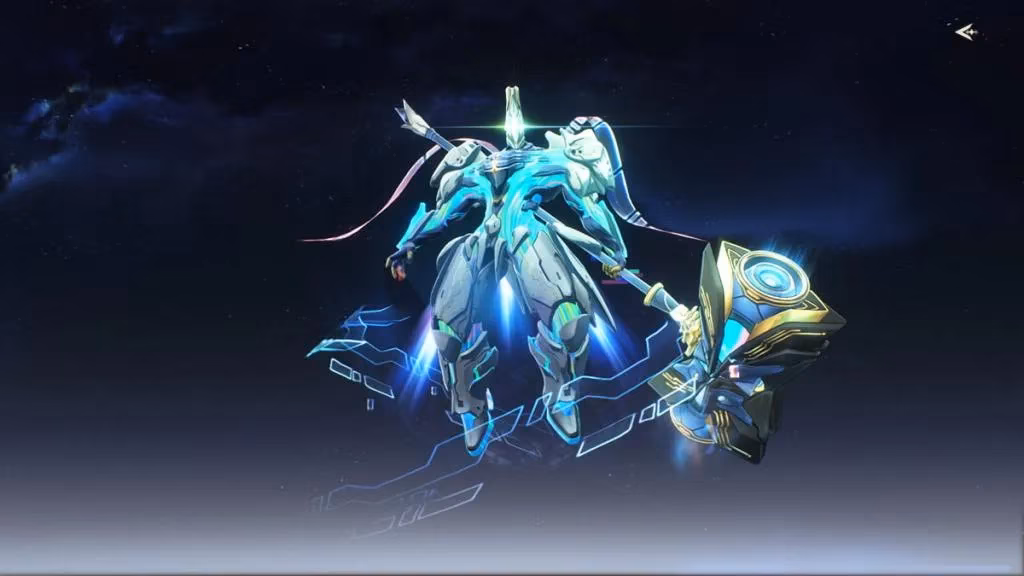
Level 2-4: Questless Knight (234,716 HP), Diurnus Knight (223,614 HP), Nocturnus Knight (223,614 HP), leading up to Thundering Mephis
Thundering Mephis is an Electro boss, but Spectro characters like Calcharo (who also deals Electro) might still perform well due to the raw ATK and Spectro DMG boost. However, a dedicated Spectro DPS like Yinlin can completely shred these floors with that 40% DMG bonus. Just pop your Liberation and watch the numbers fly.
Final Tips for Both Cycles
🔥 Match your team to the buffs — the RES reductions and amplification buffs are too strong to ignore. Bringing an off-element team will make those high-HP bosses feel like sponges.
🔄 Master the swap rhythms — especially in the first cycle, timing Intro Skills and maintaining exchangeable buffs is key to maximizing damage output.
🛡️ Invest in Echo Skill diversity — for the second cycle's Resonant Tower, having a variety of Echo Skills on your supports will quickly build that team-wide Crit. DMG bonus.
With these lineups and buffs, the Tower of Adversity in version 2.3 feels more like a strategic puzzle than a simple DPS check. I'm personally most excited for the Spectro Frazzle synergy in the first Hazard Tower — it's going to be incredibly satisfying to see those DoT ticks melt Sentry Construct. If you're still building your roster, now's the time to focus on Fusion, Spectro, Glacio, and Havoc characters to cover both cycles. Good luck, and may your echoes be golden!