My Journey Through the Melody Orchestration Puzzles in Wuthering Waves
Master the captivating Melody Orchestration puzzles in Wuthering Waves to earn vital Astrites and Sacred Salts. This guide reveals the solutions for the first five musical altars, from story-driven tutorials to open-world challenges in Anima Cradle.
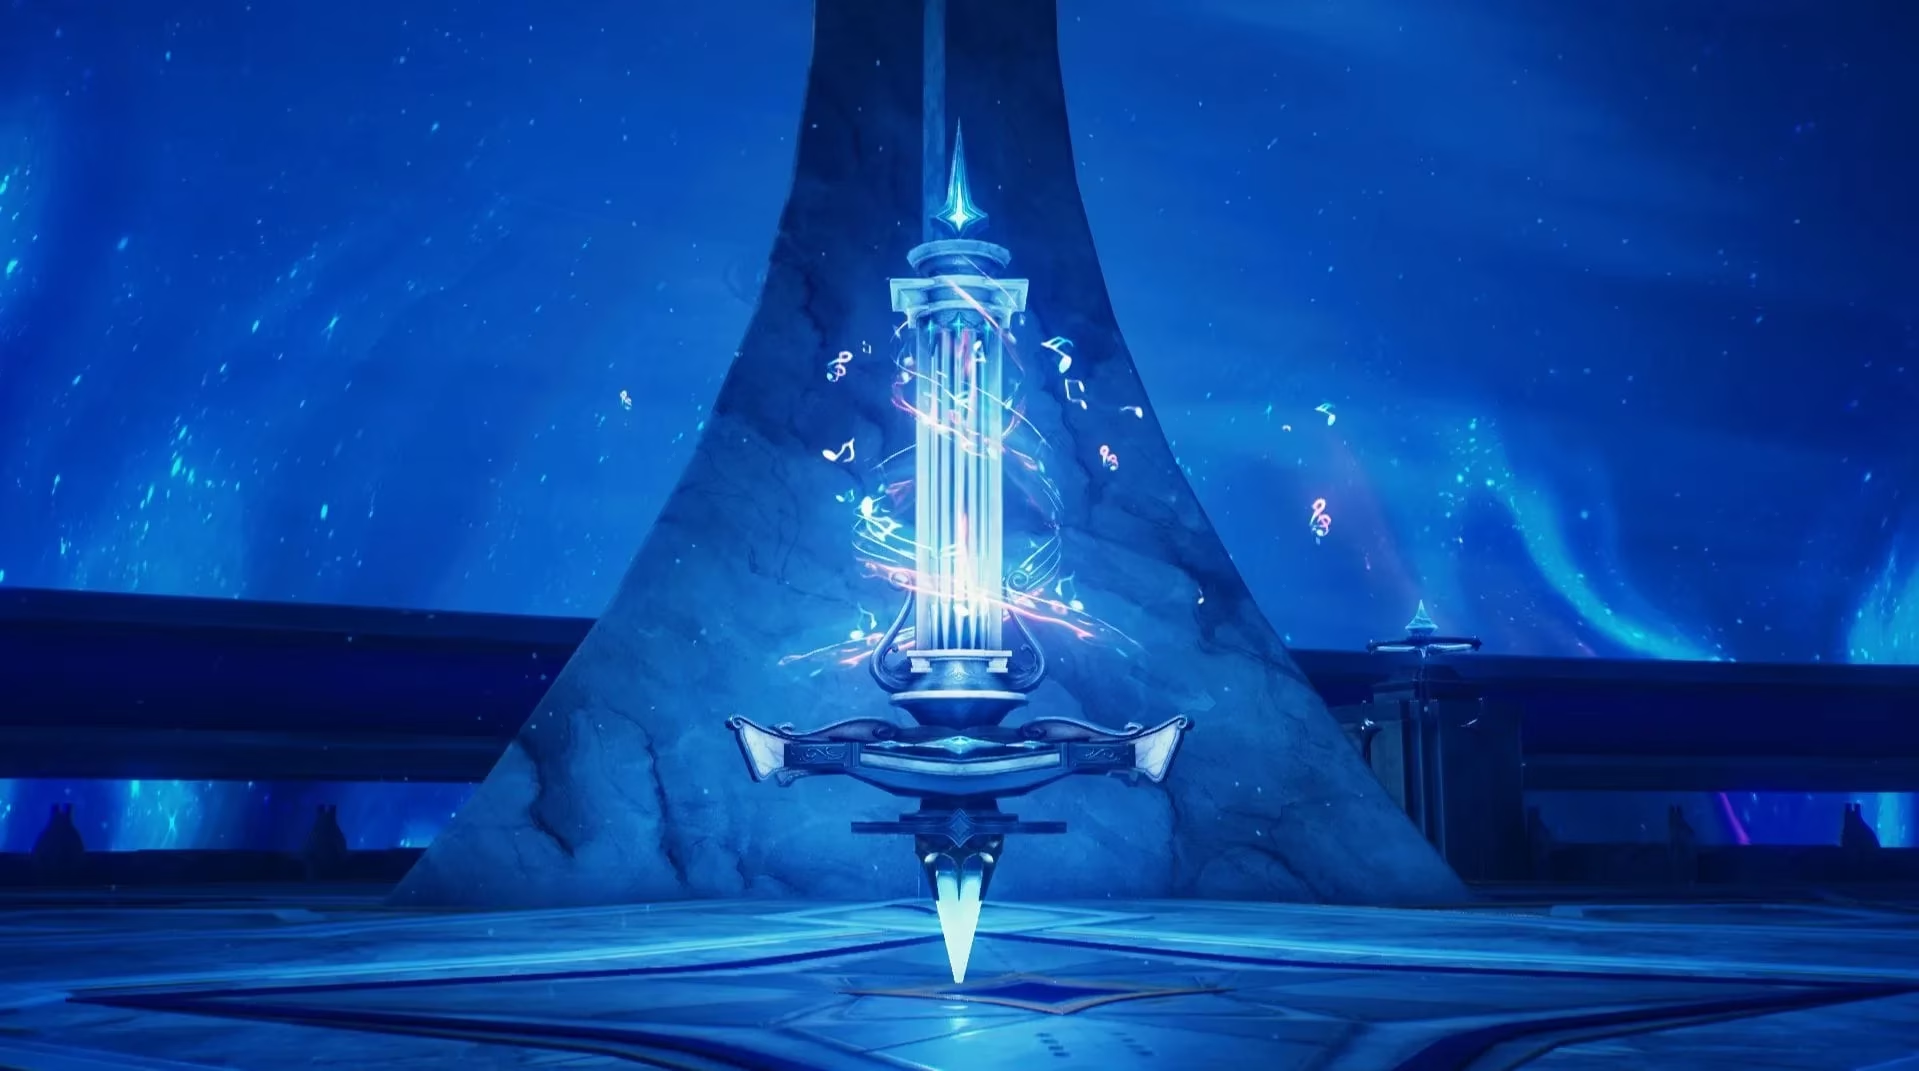
I still remember the first time I stumbled upon those strange, glowing altars scattered across the world of Wuthering Waves. It was during the Dreamcatchers in the Secret Garden quest, and the game introduced me to the Melody Orchestration mechanic—a series of eight musical puzzles hidden within the mysterious Fabricatorium of the Deep. As an explorer at heart, I was instantly captivated. Three of these challenges were tied directly to the main storyline, while the remaining five waited patiently for me to unlock the full map. Each completed puzzle promised a reward of precious Astrites and Sacred Salts, resources I knew would be vital for my journey. Little did I know, solving them would become one of my most cherished memories of 2026.
The Story-Driven Beginnings: Puzzles 1-3
The initial trio of puzzles felt like a gentle tutorial, seamlessly woven into the narrative. The first one was delightfully straightforward—a single note waiting for me to connect it to a final numbered tile. It was a simple drag of the cursor, teaching me the core mechanic. The second altar, however, introduced a twist: a second note, colored a vibrant pink. My task became more intricate. I had to link the pink note to all the tiles marked "1" from above, then guide the connection through the "3" and "4" tiles before finally reaching the pink "5" tile. After that, I connected the serene blue note to the remaining pathway. The third puzzle built on this concept, asking me to start with the pink note again, weaving through all the "1" and "2" tiles until I hit a "3," finally linking to the pink endpoint. Completing the blue note's path afterward felt like conducting a perfect, silent symphony.
Venturing into the Open World: The Anima Cradle Duo
Once the main story quests were behind me, the real exploration began. Using the northeastern Resonance Beacon in the Anima Cradle region, I soared southwest, the wind whistling past, until I spotted the fourth Orchestration Altar. This puzzle required more spatial thinking. I initiated the link from the blue note, sending it right to tile "3," then navigating up, left, and right in a small box before connecting with the "4" and "5" tiles. The pink note then handled the remaining "2," "3," and "5" tiles. The solution clicked into place with a satisfying chime.
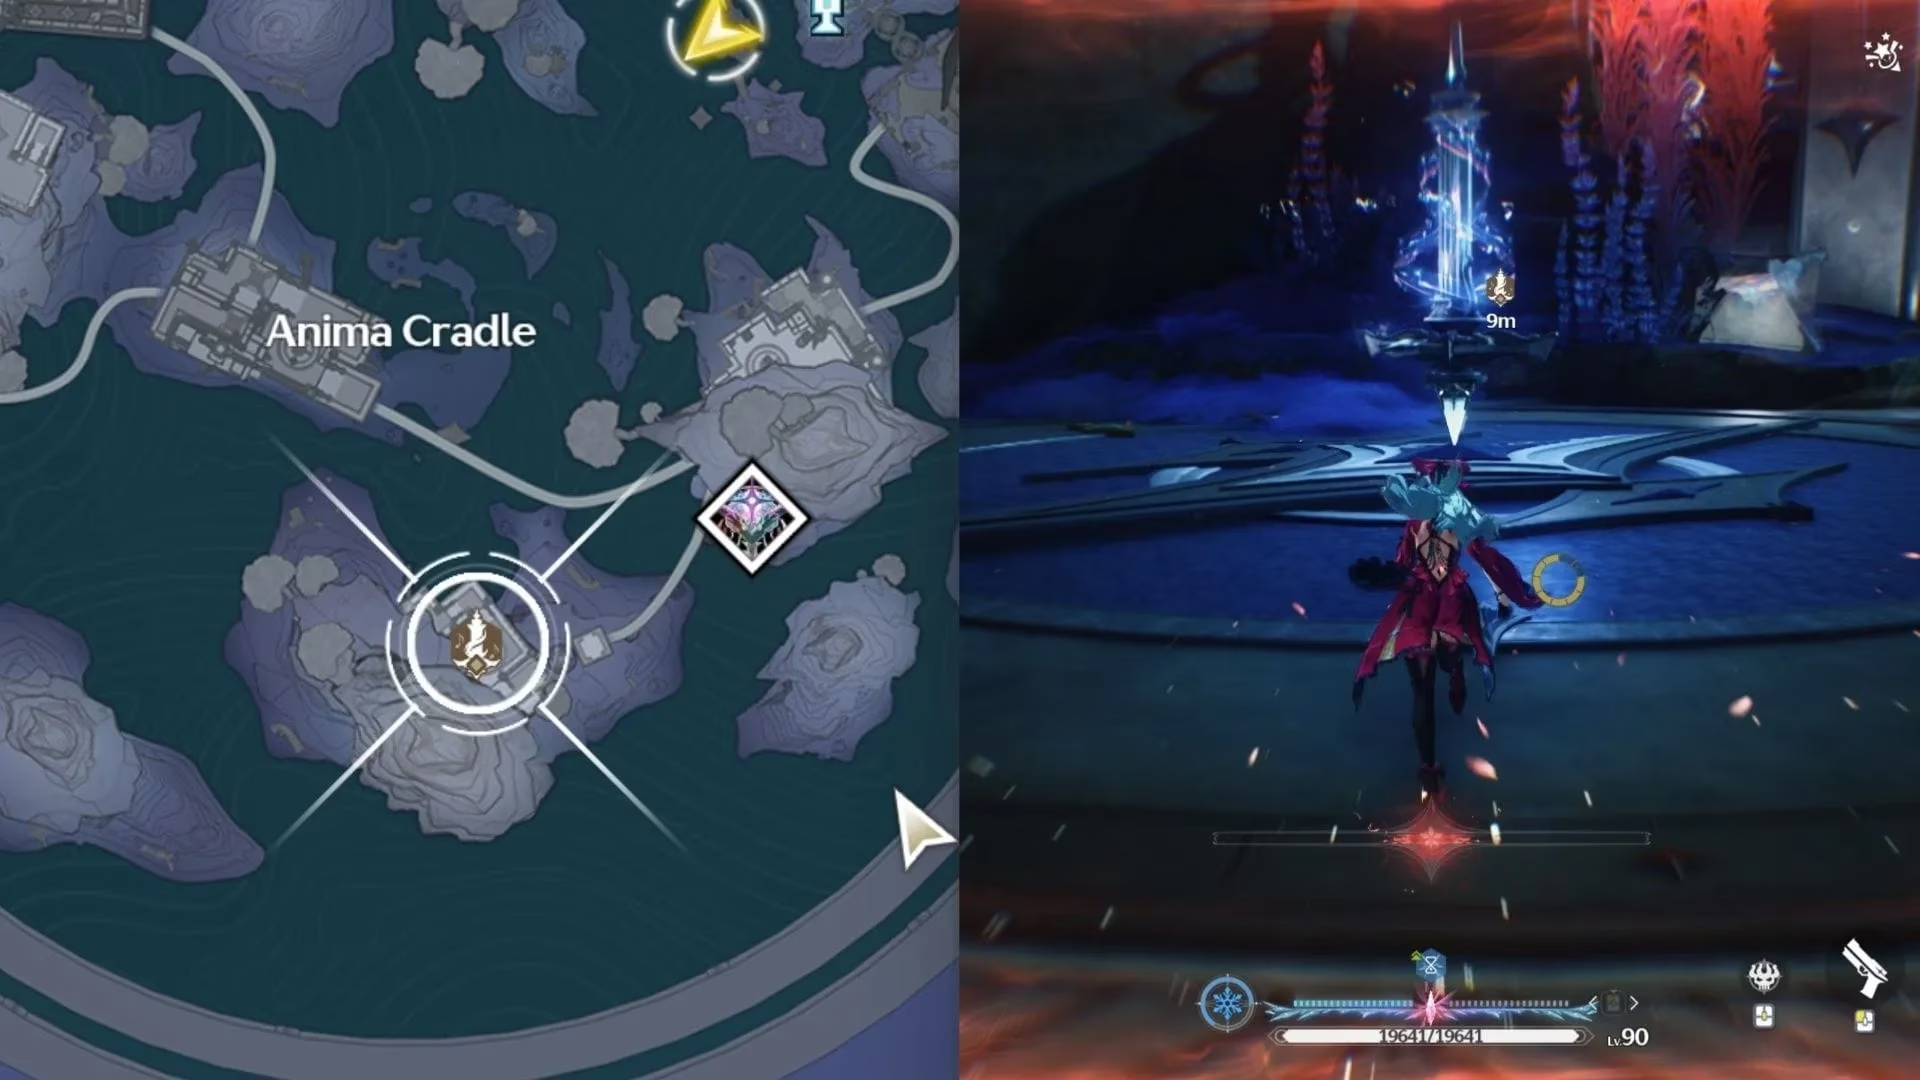
Not far away, flying northwest from that spot, I discovered the fifth altar, also nestled in Anima Cradle. This one had a different rhythm. The blue note's path was short and sweet, connecting only to the "1" and "2" tiles directly above it before jumping to the "5" tile. The pink note, once again, completed the composition by linking all the leftover tiles. The contrasting simplicity of this puzzle was a welcome respite.
The Challenging Climax: Puzzles in Fallen Grave & Sanctuary
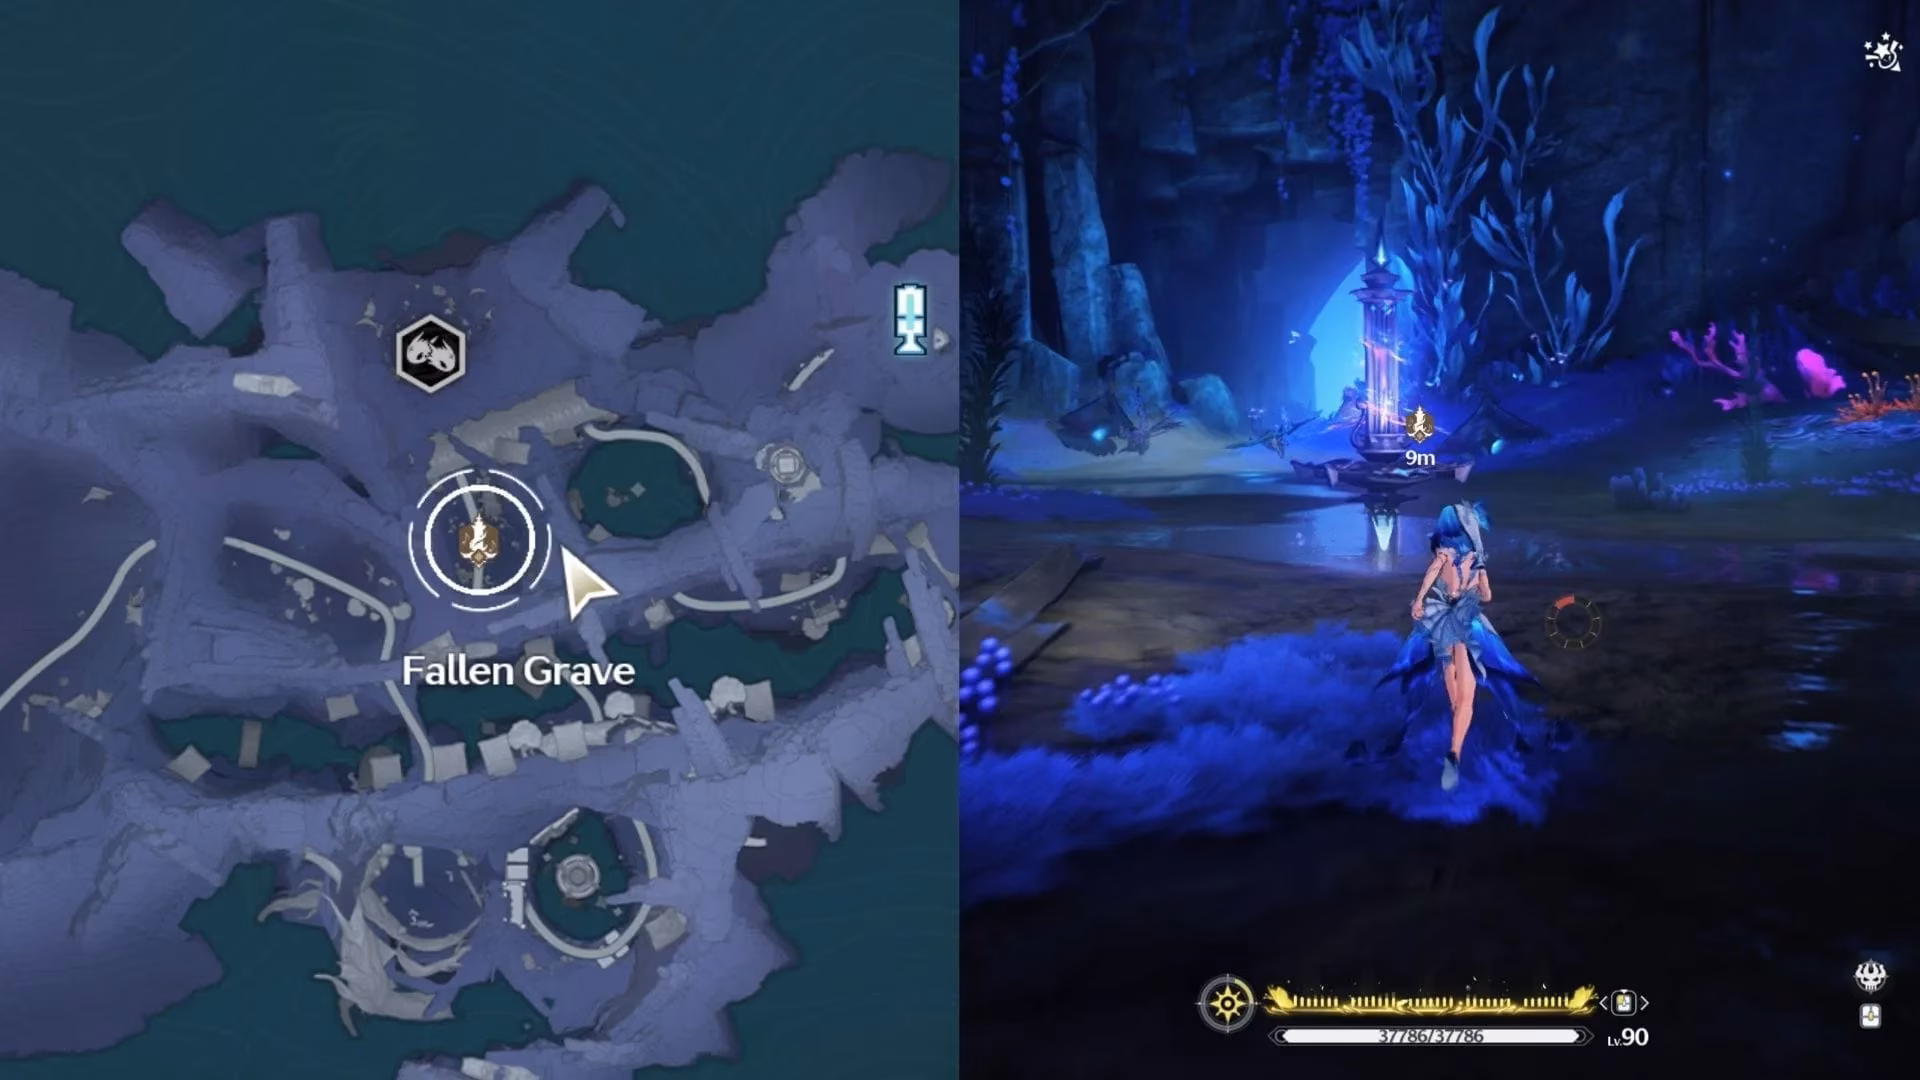
The sixth altar, found in the somber Fallen Grave area, presented a new logical hurdle. Here, I started with the pink note. I had to connect it to almost all the number "1" tiles—specifically, every one except the single tile positioned directly below the blue note. After that intricate web, I linked it to a number "3" tile and finally the pink "5." Only then could I use the blue note to claim the remaining pathway. It felt like solving a riddle within a melody.
The seventh challenge awaited near the Sanctuary of Faith. Teleporting there and heading east, I found an altar that demanded careful route planning. This time, the blue note took center stage. I linked it to the "3" tile on its right (though the one below also worked), and then I had to guide the connection in a wide arc around the blue "5" tile before finally being able to link to it. It was a loop-de-loop of light. Finally, the pink note connected the remaining "3" and the pink "5" tiles to seal the deal.
The Finale in the South Energy Hub
My melodic quest concluded in the humming South Energy Hub. The eighth and final Orchestration Altar was there. The solution felt like a callback to earlier puzzles, elegant in its simplicity. From the blue note, I went right, linking it to the "3" and "5" tiles in a clean, direct line. With that established, the pink note effortlessly connected to all the remaining tiles. As the final connection shimmered into place, a profound sense of accomplishment washed over me. Each of these eight puzzles had rewarded me with 300 Sacred Salts and between 30 to 40 Astrites, a substantial boost to my resources.
Reflections on a Silent Symphony
Looking back, the Melody Orchestration puzzles were more than just a source of rewards. They were moments of quiet contemplation amidst the action of Wuthering Waves. They didn't require combat skills or quick reflexes, but rather patience, observation, and logic. Each altar was a unique brain teaser, a miniature symphony waiting to be conducted. Solving them all felt like I had learned a secret, non-verbal language of the world itself—a language of light, numbers, and harmony. For any fellow Traveler setting out in 2026, I wholeheartedly recommend seeking out these hidden challenges. The satisfaction of solving them and the resources gained are truly worth the journey.
Quick Reference Table: All Melody Orchestration Puzzles
| Puzzle # | Location | Key Solution Hint |
|---|---|---|
| 1 | Fabricatorium (Story) | Single note link. |
| 2 | Fabricatorium (Story) | Pink note links all "1"s, then to 3, 4, pink 5. Blue gets the rest. |
| 3 | Fabricatorium (Story) | Pink note links 1s & 2s to a 3, then to pink end. Blue gets the rest. |
| 4 | Anima Cradle (SW) | Blue: Right to 3, up, left, right to 4 & 5. Pink: 2, 3, 5. |
| 5 | Anima Cradle (NW) | Blue: Up to 1 & 2, then to 5. Pink completes. |
| 6 | Fallen Grave | Pink: Links to all "1"s except one below blue, then to 3 & pink 5. Blue gets rest. |
| 7 | East of Sanctuary of Faith | Blue: Link to 3, loop around blue 5 to link to it. Pink: 3 & pink 5. |
| 8 | South Energy Hub | Blue: Right to 3 & 5. Pink completes the rest. |
🎵 Happy puzzling, and may your melodies always find their resolution! 🎵